SIMULATORS
The first time I flew in the simulator a few time ago.
It was in the first home personal computer ... Attari 128.
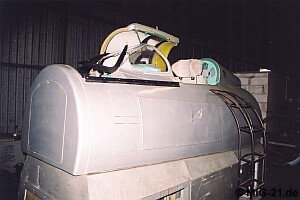
First "real" flight was on an airplane simulator for russian fighter ... Mig-21F.
It was jet, fix base simulator without moving base .
View from the cockpit was solved by moving map.
The closed TV system with black and white view was screened on big white screen .
- The piture showed only runway, short time after take off and a close view for landing .
- Sometimes, after second circle around the airport was missing house, trees or something. Objects was glued on moving strip.
- After take-off we had fly as an instrumets flight .
The simulation was very good.
So, back to the PC simulators. We can fly withou internet connections ( offline ) or with sim connected ( we know that as an online ). .
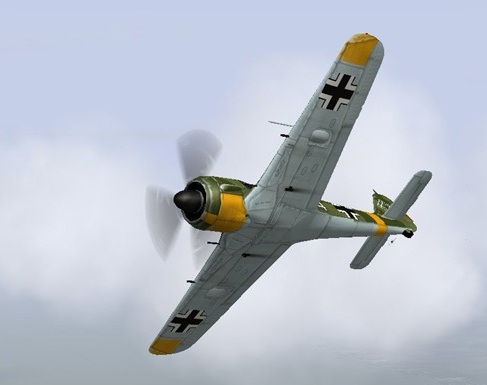
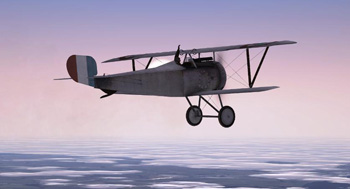
A few pictures from IL2-Sturmovik, we can see below :


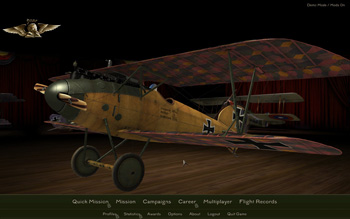
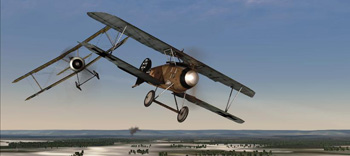
In time, when I write this web, is the best airplane simulator R.O.F. - Rise Of Flight
It is very good PC simulator from WWI.
Lately, I have been creating a civilian airplane simulator for Boeing-737 .
I chose from other types as an Zlin Z-142, Aero L-39 Albatros and Boeing B-737. Airplane from Boeing was a winner.
**** Home made cockpit model for Boeing 737NG ****
I would like to know the results of my work
The first attempt was with a laptop and a TV screen.
On the laptop I saw an instruments.
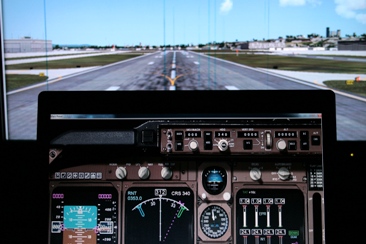
( Vertical lines on TV made me son ... four years old Dan, because they fought with the dragon with plastic sword :)
For some time I upgraded instruments panel.
On The laptop I installed the software, which displays the device similar to a real Boeing.
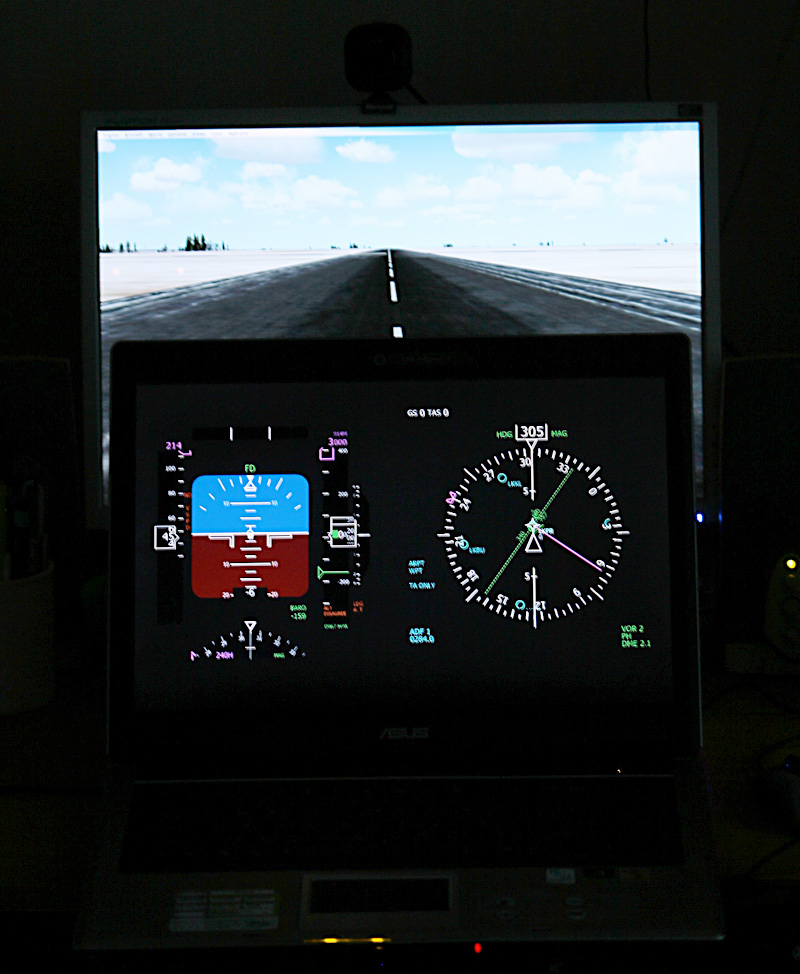
It was started to look interesting.
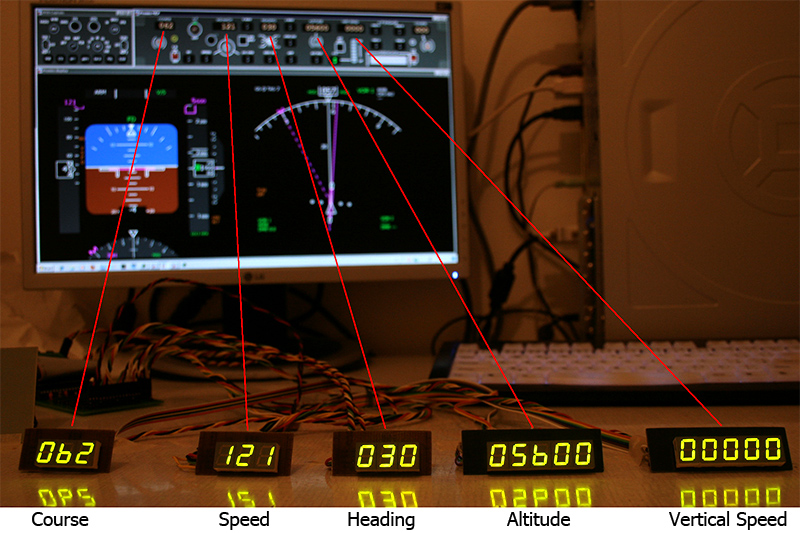
Then I bought the PCB from the company "Opencockpit" from Spain and I began to build links with other peripherals of simulator.
These are switches, LEDs, display segments etc.
The figure below shows a total of five channels for an autopilot.
It is an indication of the course, speed, given the course, altitude and speed of climb.
**** WORK IN A GOOGLE SCATCHUP ****
After a little study and experimentation with the program "Google ScatchUp" I managed a few drawings for an EFIS control panel.
With this panel, the pilot controls the various settings and ranges of screens.
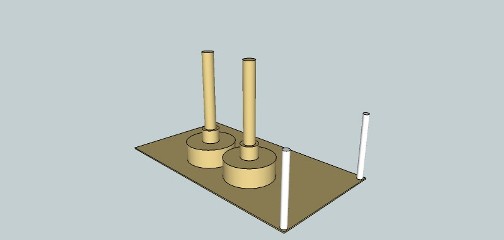
Figure motherboards switch ranges and two spacers.
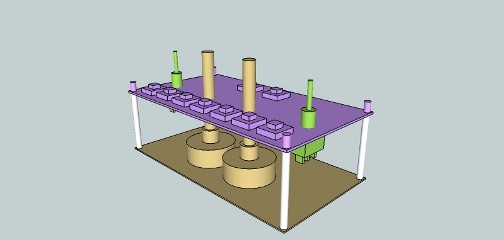
The second image with an embedded board with nine switches and VOR1/ADF1 and VOR2/ADF2 rotary swithes.
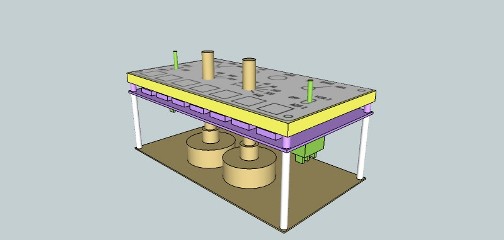
The third figure is the total assembly ( without the outer casing ).
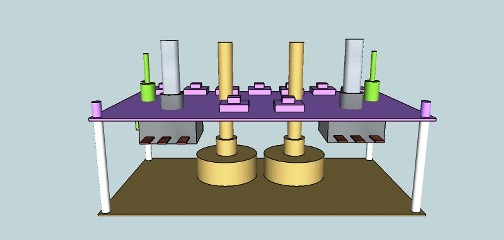
The fourth image is set with added encoders CTS 288.
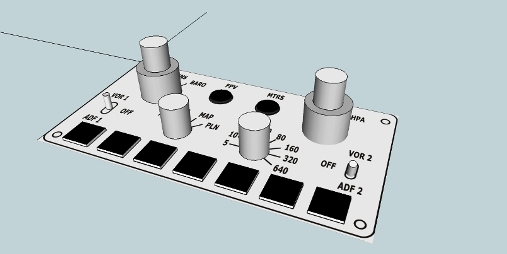
The fifth image is the front panel with controls ...
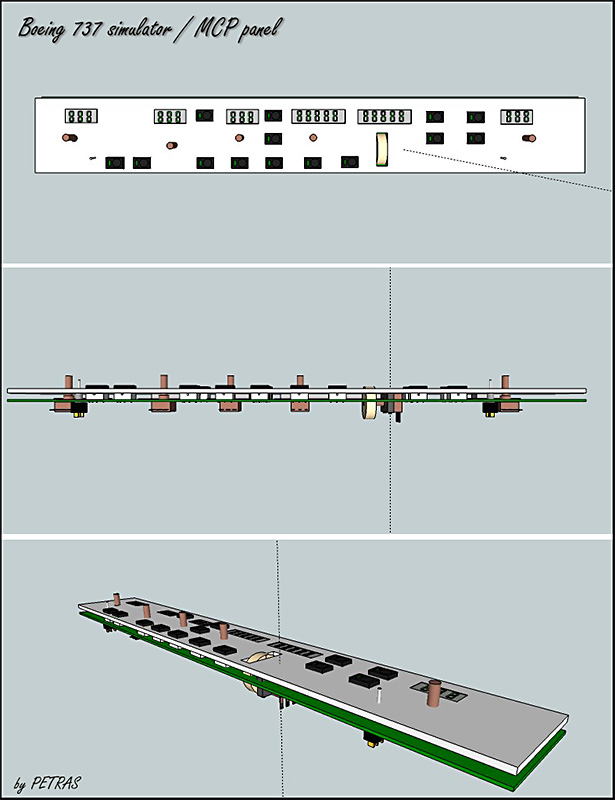
Next picture, which I want to show you, is 3D MCP panel. Before I start make an printed cirquite board, I made this chart.
FIRST PRINTED CIRQUITE BOARD "PCB" PRODUCTION ... Photographic method :

This image has attempting to produce printed circuit boards with Photographic method (as the first but led to a successful goal). In previous experiments, I used a UV lamp, I tested a five-minute increments, but the results were always wrongl. On the advice of my friend when I attempt to use the normal exposure of an ordinary fluorescent lamp that is mounted for example to the kitchen. I cradled her height is about 100 mm above the PCB, which was covered by a mask, printed on transparent foil. (LASER Printer - MINOLTA slowest printing, foil "prehistory" brand FOLEX but acquitted.)

The picture of PCB inserted after exposure to 30-minute bath with NaOH 1.5% (Note that these are alkali and it is good to work with gloves and glasses on the eyes). The solution is washed away enlightened areas of the board and remain areas that were covered before exposing mask. After washing away the plate is washed with lukewarm water.

The third picture is show you the PCB inserted into the etching solution of ferric chloride. Chloride remove unnecessary space and will remain only conductive connections. After the plate is washed again with water. ATTENTION ... Chloride contaminates everything nicely what drips ! It's good to be working with gloves or with extreme caution.

This PCB looks ready, washed and coated with varnish PCB cover. (This prevents oxidation of copper).

Test the accuracy of manufactured PCB ... here only for illustration SMD switch attached to the facets, which comes after the solder.
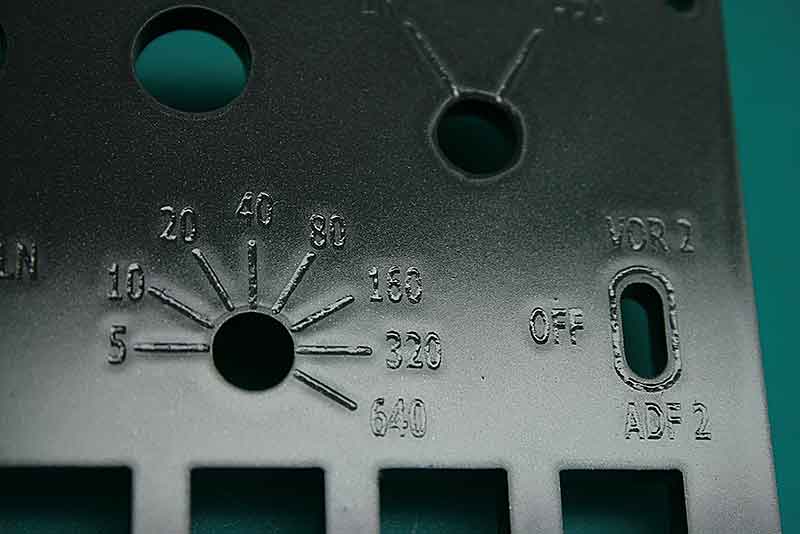
2011.09.07 - EFIS PANEL PAINTING AND SCRAPING :
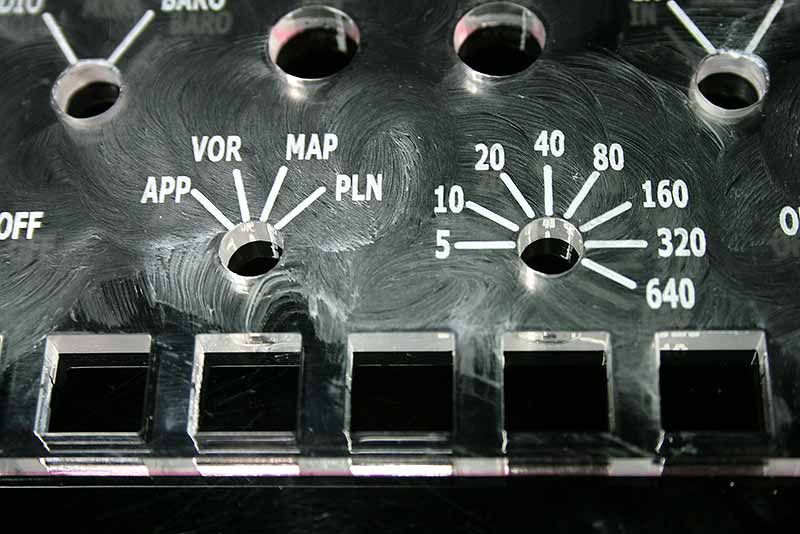
The first picture of this series is a good method to see what I used when writing and spraying the front panel EFIS. This method is generally used for each engraved panel. I use a flat plastic spatula for toothpaste with a damp finger and rubbed well into the letters, symbols and numbers.
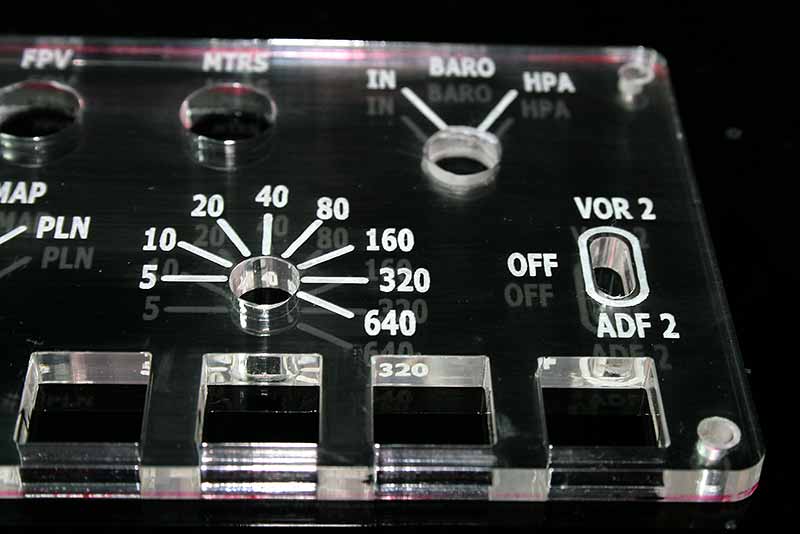
This picture show you well polished plexi panel with paste inside the words.

Painted EFIS buttons with primer and color coating.
EFIS panel painted with acrylic paint too.
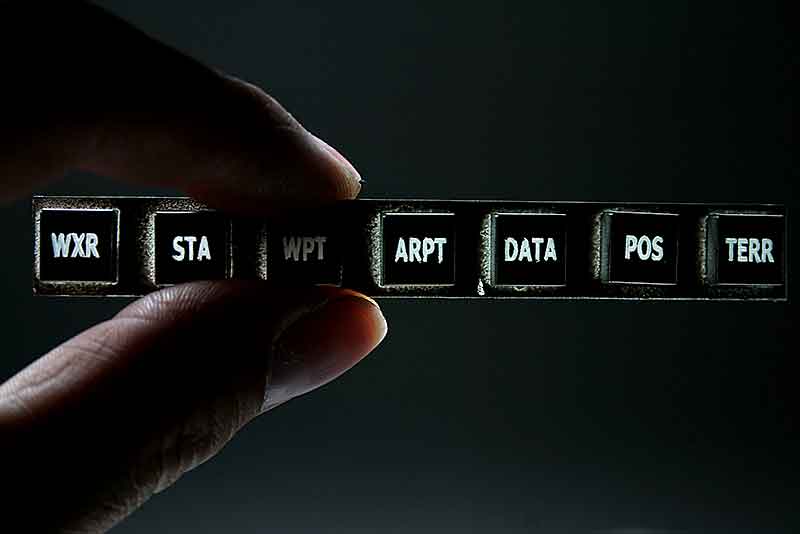
There are already nice to see the letters in buttons, with the rear backlight.
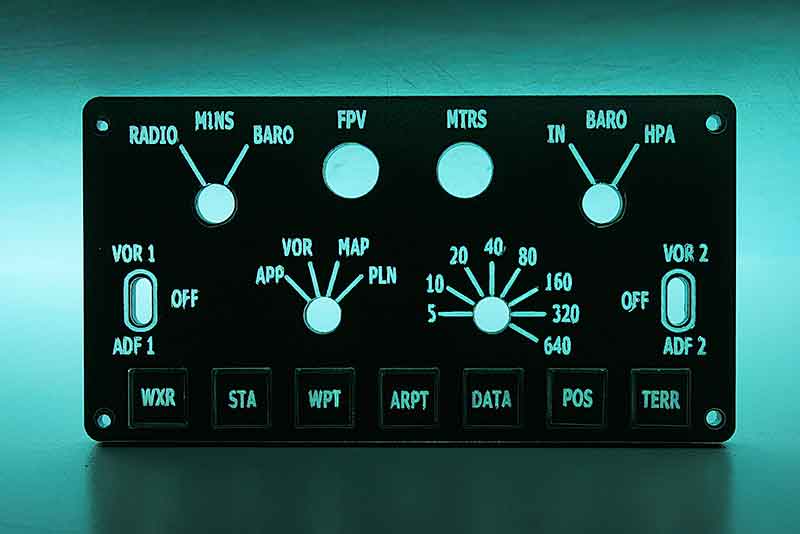
Complete EFIS panel with lower buttos inside.Again the backlight is on.
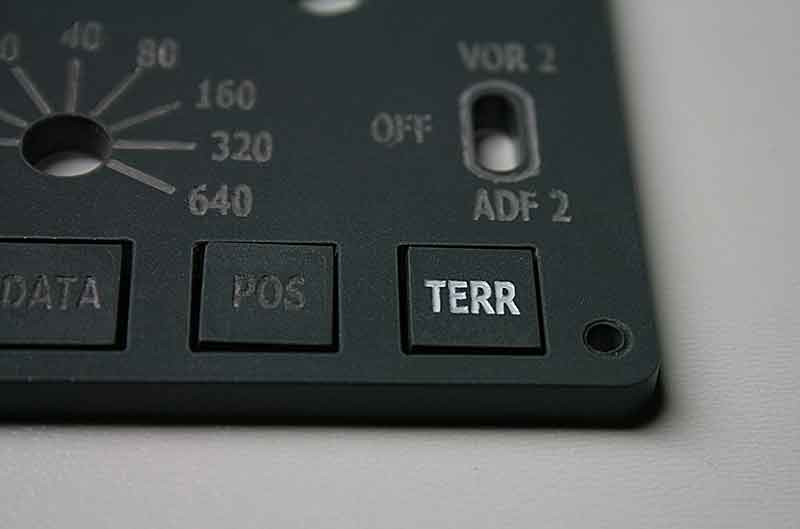
Last picture in this series for today is pushbutton TERR ( mean terrain ) innerpainted with soft white color.
23.9.2011
So we ran away again some time. I worked hard to develop and manufacture EFIS panel.
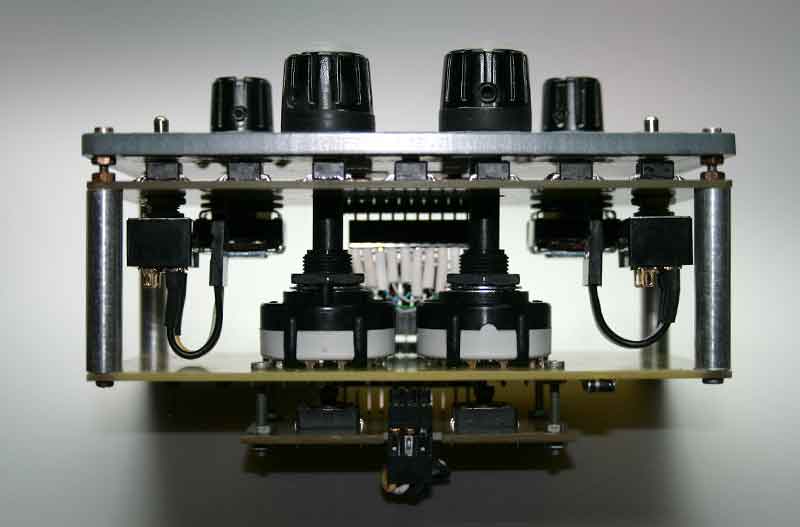
First I filled the front plate with white color. I planted PCB board. Hard work is the drilling of two rotary switches. The problem is that drivers map the extent and type of maps are displayed in the middle of their key controls yet. This button changes the function by pressing middle area of button. The entire shaft must be drilled longitudinally, adjust the switch inside, stretch it through the wire diameter of about 2.5 mm, which is then activated by pressing the microswitch located behind the switch. Bit, the system is seen from the top picture.
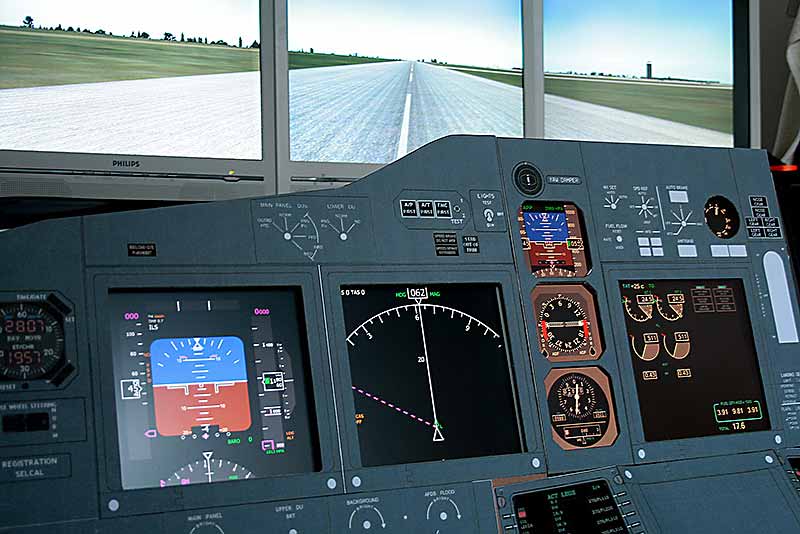
To be a little easier to see the current set of instruments panel, I made this picture. The test panel is made of hardened foam bought I think 6 mm in any "hypersupermega mall", but due to the advertising, I will not name. I let you make a print at a scale of 1:1 and that I stuck to the panel. The upper screen is nice to see the image of the "Scatter" Matrox card on three monitors. There are currently 06 LKPR runway ... Prague - Ruzyne.
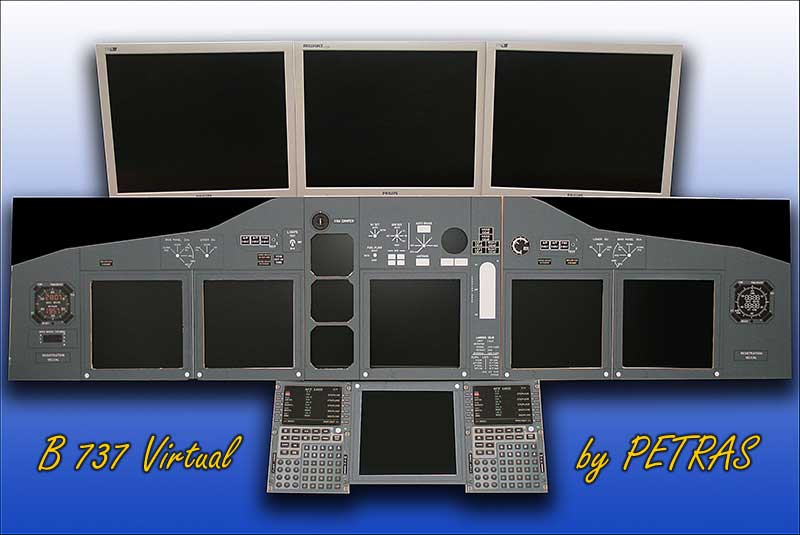
This image shows the entire assembly in a better design, but with data from the PC turned off.
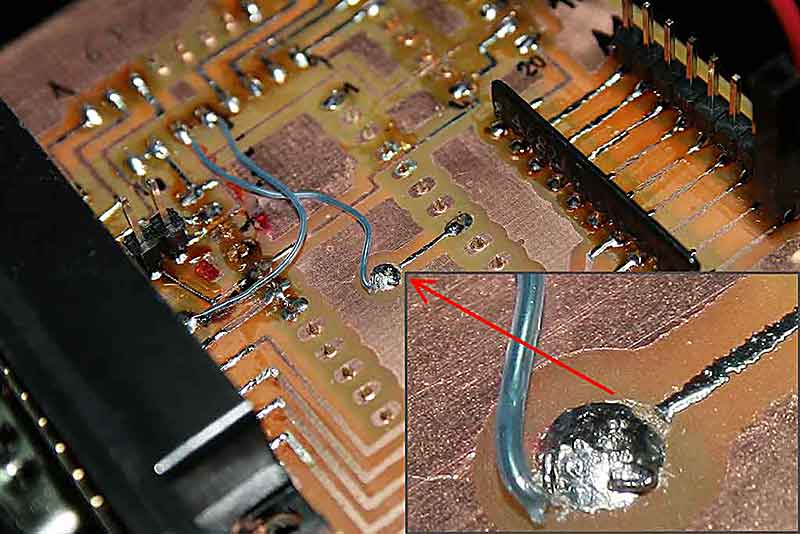
In this picture you can see the mistake that cost me several hours of searching.Small interruptions of conductive paths.
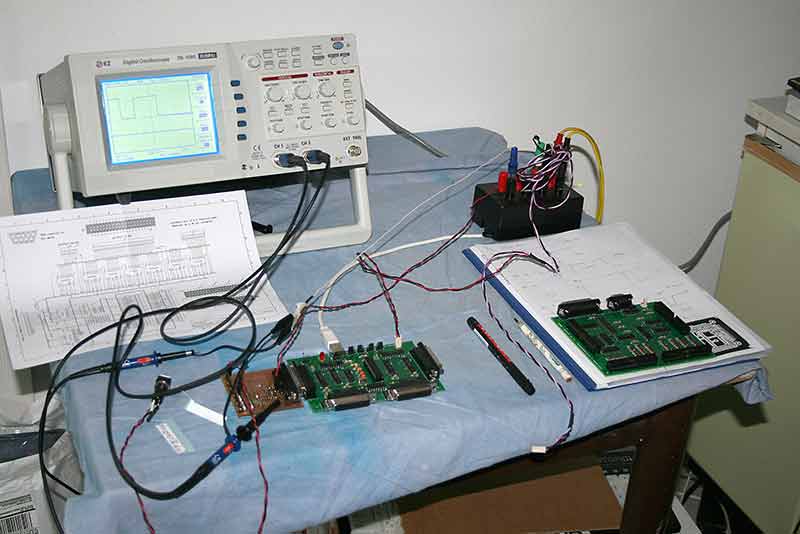
"Heavy artillery" .. Scope digital help me found where problem is.
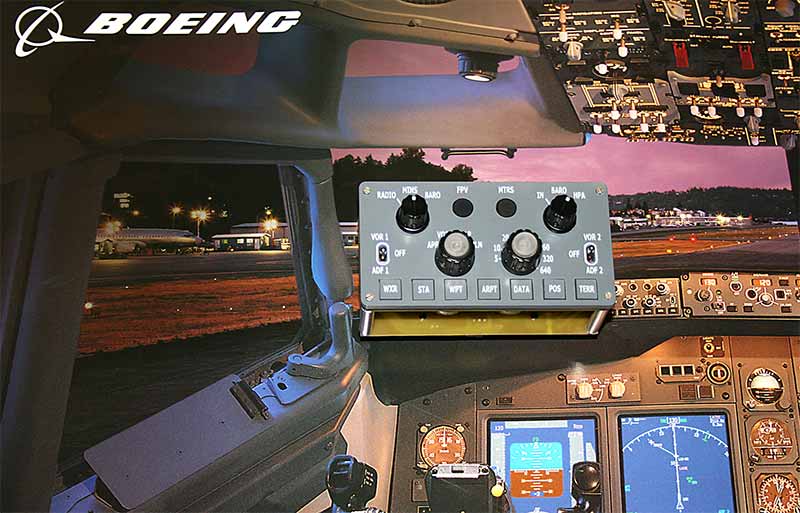
Here I'm allowed to make a little picture with advertising tuned ready EFIS panel.
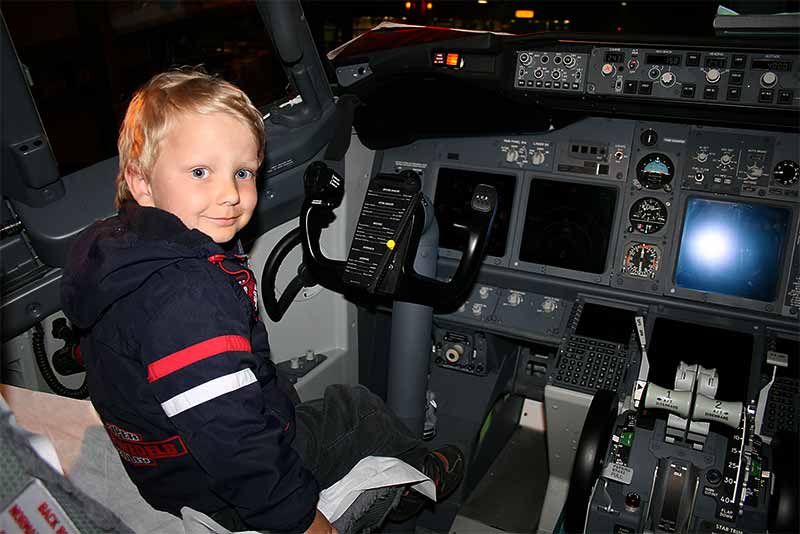
When I leave after our son Danika photographed in the cockpit B-737/800 I had no idea, how I will throw this photo as a base for manufacturing simulator.
I HARD CONTINUES DEVELOPMENT OF THIS SITE ... THANK YOU FOR UNDERSTANDING ... PETRAS.